
The Noise in the Wall Is a Warning, Not a Reason to Panic
The first call usually starts the same way: scratching at dusk, a peppering of droppings below an eave, then one bat slipping from the roofline just after sunset.
That is the moment to slow down. A bat in an attic is not a reason to seal the nearest hole, set a trap, or climb into insulation with gloves and a flashlight. Bats should not be trapped inside, poisoned, fumigated, glued, or handled by homeowners. Those choices create animal suffering, and they often make the house problem worse.
Big brown and little brown bats can use openings as narrow as 6 to 16 mm, roughly 1/4 to 5/8 inch. From the ground, the real entrance may look like a shadow line. Evening emergence often begins 15 to 30 minutes after sunset, when the colony leaves to feed on insects.
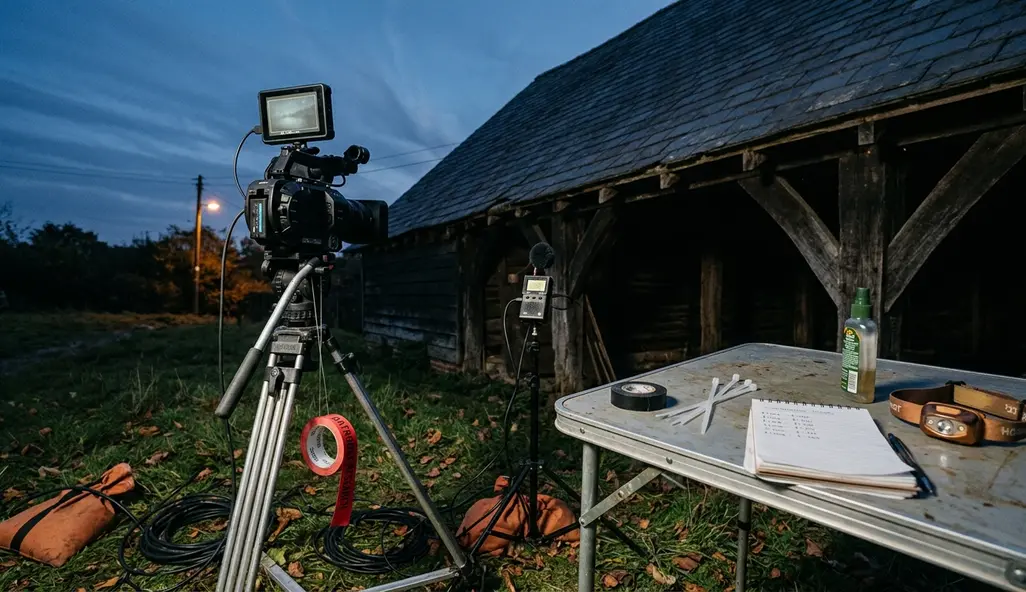
This guide lays out the humane route: observe first, install one-way exits, wait for the bats to leave, then seal the structure after activity stops. The goal is not to punish the animals for using a building. The goal is to close an unsafe roost while keeping the colony alive.
What Humane Bat Exclusion Actually Means
Humane bat exclusion is not trapping. It is controlled eviction through a one-way exit device.
A BatCone™ is one common product used for this work, though it is not the only option. Tubes, cones, and properly installed exclusion netting all follow the same principle: bats can crawl or drop out, but they cannot easily re-enter through the same gap.
The basic sequence
- Inspect the building exterior.
- Identify active exits, not just possible gaps.
- Install one-way devices over those exits.
- Allow nightly departures during normal weather.
- Seal the openings after the bats are out.
- Monitor the repaired area for renewed activity.
Most colonies clear a well-devised exit over 3 to 7 consecutive nights of normal weather. That last phrase matters. During cold snaps or torpor, bats may stop leaving nightly. If departures stall, the clock pauses. Observed activity matters more than a calendar promise.
Summary: Humane exclusion works because it respects bat movement. It removes access without forcing hand-capture, relocation, or lethal control.
Before You Start: Timing, Law, and Safety Come First
I put this section before the tools because timing is where well-meaning projects do the most damage.
Many jurisdictions restrict bat exclusion during the maternity period. In much of temperate North America, that window runs roughly from early June through mid-August, when non-flying young may be present. Pups are typically unable to fly until about 3 to 6 weeks after birth. Seal a colony during that period and adults may leave while young remain trapped in the wall.
Maternity-season timing varies by latitude and species. A northern colony may still have flightless pups in early August while a southern colony has already weaned, so a fixed national calendar can mislead homeowners. Regional species behavior can shift the calendar by weeks.
Note: This guide covers structural exclusion planning only. It is not rabies-response protocol, medical advice, or guidance for hazardous guano cleanup.
If a bat is loose inside a bedroom, or in any room where a sleeping person, child, or pet may have been bitten unnoticed, stop treating the issue as an attic exclusion. Contact local public-health authorities or a qualified professional.
Before beginning eviction work, check your state or provincial wildlife agency. Some locations require a permitted or properly licensed operator. Conservation education groups, including the Organization for Bat Conservation (OBC), and public science institutions such as Cranbrook Institute of Science have helped frame bat issues for the public, but local wildlife rules still govern the job at your house.
Bat Exclusion Materials and Tools
- One-way exit device, such as a cone, tube, or bat-exclusion netting
- 100% silicone caulk for small cracks and weather-protected seams
- Duct tape for temporary positioning only, not a final seal
- 1/4-inch hardware cloth or metal screening for larger gaps
- Flashlight, notebook, camera, and a safe observation position
Step 1: Watch the Building and Find the Real Exit Points
A homeowner once sealed the one visible soffit gap after a quiet night. The real colony route sat two feet away, along a ridge-vent seam. The bats kept entering, the house still smelled, and the “exclusion” had to start over.
That mistake is common because a building can show many gaps while the colony uses only a few. Dusk observation separates suspicion from evidence.
Plan two to three separate dusk watches. Start 15 minutes before sunset and keep watching for 45 to 60 minutes. Not every bat exits the same gap each night, and the first bat is easy to miss if you are still setting up your chair.
Where to look
- Rooflines and ridge vents
- Fascia gaps and soffit returns
- Attic louvers and gable vents
- Chimney flashing and chimney edges
- Siding joints and trim seams
- Roof-wall intersections
Look for brown-to-black staining, grease rub marks, faint odor, and droppings the size of grains of rice below a gap. Repeated evening activity is the strongest clue.
Inspect with a flashlight from ground level first. If confirming an exit requires climbing to a steep or high roofline you cannot reach safely, hand the inspection to a professional rather than guessing.
Step 2: Offer Better Roost Options Before Closing the Old One
Alternative roosts do not guarantee relocation. I wish they did.
A bat house installed the same week as exclusion rarely solves the immediate housing problem for a colony. Adoption can take one or more full seasons, and sometimes it never happens. Still, preparing better roost options is part of responsible habitat stewardship, especially for homeowners who value bats and want them nearby, just not in the attic.
Install or maintain bat houses weeks to months ahead of a planned exclusion when feasible. The season before is better. Think of the bat house as habitat support, not as a switch you flip.
Placement considerations
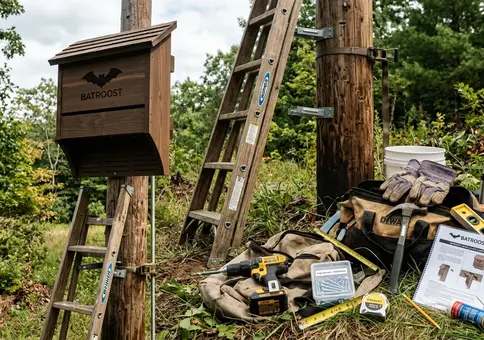
- Mount the box on a stable structure at least 12 to 20 feet above ground.
- Keep the approach open so bats have unobstructed flight access.
- In cooler regions, favor locations with 6 or more hours of direct sun on the box face.
- Place the roost away from frequent human disturbance.
- Check mounting hardware before late spring and summer roosting activity intensifies.
Never delay a needed one-way exclusion because you assume bats will simply move into a new box. They may not. The conservation value is real, but the relocation value is uncertain.
Step 3: Install the One-Way Exit Without Blocking the Flight Path
The device has one job: cover the active exit without narrowing, crushing, or confusing the path bats already use.
For a BatCone™ or similar tube, position the device so it extends 1 to 2 feet beyond the exit and hangs open at the lower end. Bats should be able to crawl or drop out naturally. They should not have to squeeze through a smaller opening than the one they already use.
Silicone caulk can help seal small edges around the device where air and light might draw bats back toward a side gap. Duct tape can help hold parts in place during installation. Treat it as a temporary positioning aid, not a weatherproof repair. Heat and humidity can loosen it, so any joint it holds must be re-secured with caulk, hardware cloth, or screwed trim before the structure is considered closed.
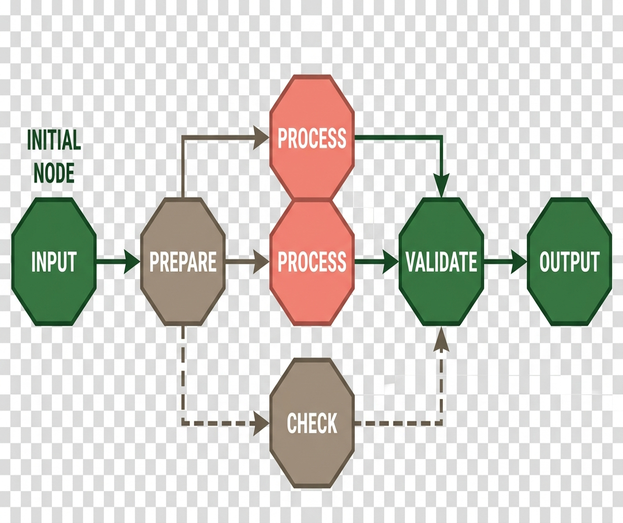
Leave the device fully operational for a minimum of 5 to 7 fair-weather nights before sealing. Extend that period if you still see evening emergence.
Quick Tip: If the weather turns cold and bats stop emerging, do not seal on schedule. Wait until consistent evening movement resumes and the device has had a fair chance to work.
Step 4: Seal the Structure Only After Bats Are Out
Never seal a gap while bats may still be inside.
That rule holds even if the scratching is annoying, even if the contractor is already there, and even if the opening looks small. A sealed colony can push into living spaces, die in wall cavities, or leave young behind during the maternity period.
Confirm at least 2 to 3 consecutive nights with no observed emergence at the device before permanent closure. Then work from the inspection map you made in Step 1, not from memory.
Match the repair to the gap
- Use silicone caulk for small cracks, seams, and weather-protected joints where appropriate.
- Use 1/4-inch hardware cloth or metal screening for gaps wider than roughly 1/2 inch.
- Use trim, flashing, or durable building repairs where the structure itself has failed.
After the main exit is sealed, bats may test adjacent openings for several nights. Re-walk the exterior. Check the fascia, vents, soffits, chimney flashing, and siding joints again. The job ends when the building stays quiet and the exterior shows no new sign, not when the ladder comes down.
When Humane Bat Eviction Should Not Be a DIY Project
The DIY line is not about bravery. It is about access risk and colony complexity.
Escalate to a professional for rooflines above roughly 12 feet, large nightly emergence, multi-cavity attics, complex roof geometry, or two or more failed exclusion attempts. Also get help if bats enter living spaces or if there is any suspected contact with people or pets.
Where local rules require it, seek a permitted or properly licensed wildlife professional. Licensing and professional standards vary by location, so verify credentials against your own jurisdiction’s wildlife agency.
Questions to ask before hiring
- How do you handle maternity-season timing?
- Do you use one-way devices rather than traps or poisons?
- What is your post-exclusion sealing plan?
- Will you document active exits before installing devices?
Good bat professionals use exclusion. They do not use poisons, glue traps, fumigation, or the shortcut of sealing bats inside.
Monitor, Clean, and Prevent a Return
The first few evenings after sealing matter. Re-entry attempts often cluster then, while the colony tests familiar edges of the building.
Watch the repaired area at dusk over 3 to 5 evenings after sealing. Each morning, check below nearby gaps for fresh droppings. If new sign appears, go back to observation before making another repair.
Cleanup needs the same caution as exclusion. Do not attempt heavy or long-standing guano cleanup yourself. Dry droppings can carry fungal spores, and large deposits warrant protective equipment and qualified remediation.
For prevention, schedule an exterior inspection in early spring. Check caulked seams, vents, fascia, chimney edges, and bat-house hardware before roosting activity intensifies in late spring and summer.
Humane exclusion is slower than panic sealing. It also leaves less wreckage behind. The house gets closed, the colony gets a chance to survive, and the next dusk watch becomes quieter for the right reason.






Join the Conversation
No comments yet.
Join the Discussion