
A Bat House Can Look Right and Still Be Wrong
The most attractive bat house in a garden center is often the one I distrust first.
I am not judging the paint color or the little roofline. I am looking past the decoration and asking whether a bat can use the thing as a roost: can it hold heat, offer a narrow crevice, give safe access from below, stay intact through weather, and mount securely where the site demands?
A garden-center bat house with a wide single cavity and a slick painted interior may look polished yet stay empty for years because it lacks the 0.75-inch crevice and grip texture bats require. That is the buying mistake I see most often. The box looks like habitat to people. It does not behave like habitat for bats.
This guide is not a brand ranking. It is a field feature guide for homeowners, gardeners, educators, and habitat stewards who want to sort useful roost equipment from decorative outdoor objects. The working question is simple: what does the design allow bats to do safely, season after season?
Start With Your Site, Not the Shape of the Box
Before choosing a box, stand where you plan to mount it and write down four facts: sun exposure, mounting height, maintenance access, and purpose. A backyard habitat installation has different constraints than an education site where students will gather nearby.
Most placement guidance puts bat houses on poles or buildings in the 12-to-20-foot range. In temperate regions, successful occupancy often correlates with roosts receiving at least 6 hours of direct daily sun. That does not make sun the only variable, but it belongs near the top of the checklist.
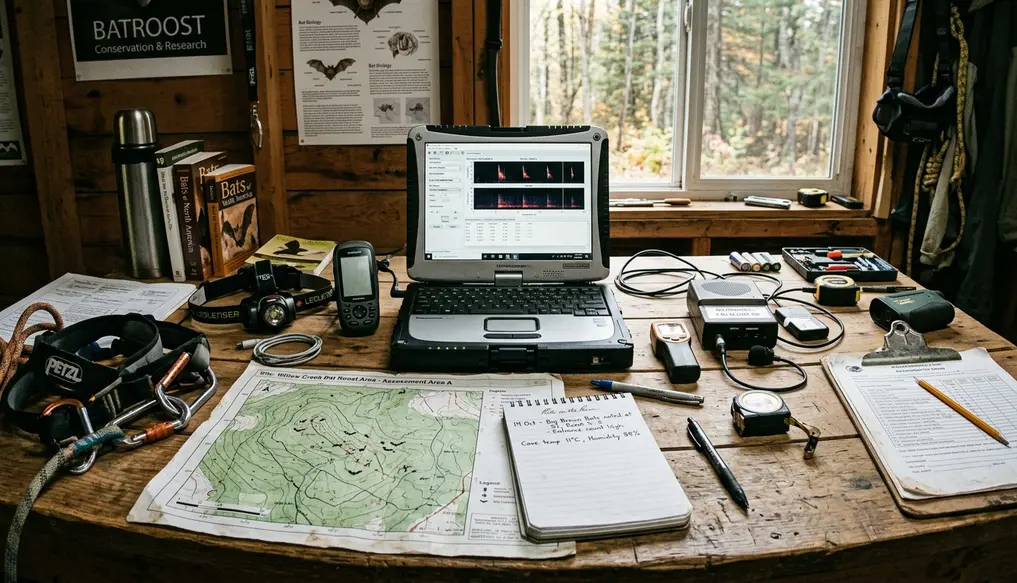
Cooler regions often need designs that retain warmth. Hotter exposed sites need ventilation and exterior color choices that reduce overheating risk. The same box can make sense on a sunny garage wall in one county and create avoidable heat stress on an exposed southern wall in another.
Then look outward from the entrance. Bats need open flight access. Heavy branches near the entry create obstructions and predator approach routes. A stable wall or pole matters more than a charming location at the edge of a crowded garden bed.
Note: Even good design and careful placement improve suitability without guaranteeing occupancy. Bats may find a roost in one season, after several seasons, or never adopt it.
Chambers, Crevices, and Landing Surfaces: The Core Features
Chamber count is not decoration. It changes the choices available inside the roost.
A single-chamber house can work in mild, stable conditions if the chamber is narrow enough, the interior grips well, and the landing area is usable. It has little room for thermal variation, though, so it leaves bats fewer options when temperature shifts. Two-chamber houses improve that range. Multi-chamber houses usually give the strongest starting point for beginners because bats can move between spaces as heat and crowding change through the day.
The crevice itself matters more than outside silhouette. Useful roosting chamber spacing sits roughly in the 0.75-to-1-inch range. Wider shallow cavities often please the buyer and disappoint the bat.
Landing surfaces deserve the same scrutiny. A proper landing pad extends about 3 to 6 inches below the entry. Interior surfaces should be roughened or grooved horizontally at intervals close enough for toe grip, typically every quarter to half inch. Slick plastic, glossy paint, or smooth plywood inside the chamber forces bats to spend energy on something the design should have solved.
Quick Tip: For a first backyard installation, choose a well-built multi-chamber house before choosing a tiny novelty box. The larger usable interior gives bats more temperature and crowding options.
Compact houses still have a place. In a tight space, choose one only if it preserves narrow crevice depth, reliable grip texture, and a real landing pad. Small is not the problem. Shallow, slick, and decorative is the problem.
Heat, Ventilation, and Color Matter More Than Decorations
Thermal design decides whether a bat house functions as shelter or becomes a box with a wildlife label on it.
Bats commonly favor roost interiors that warm into the 80-to-100°F band during the active season. The design has to help the roost reach useful warmth without trapping dangerous heat. That balance changes with latitude, shade, wall exposure, wind, and exterior finish.
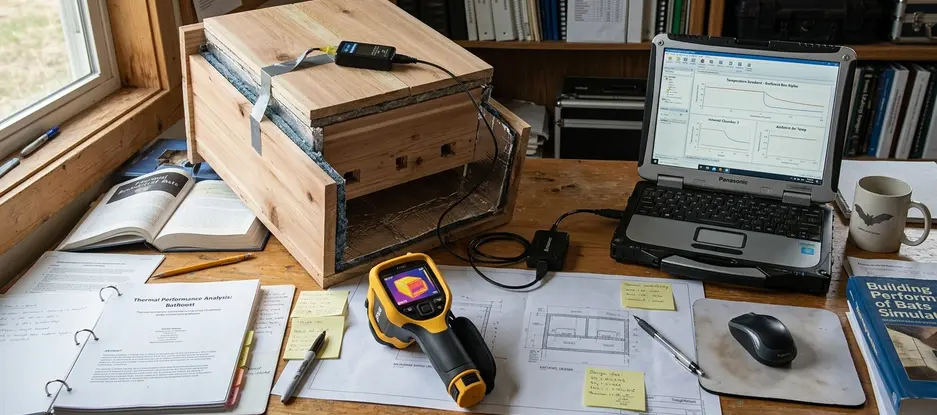
Vents can help in warm climates or on very sunny sites. They allow heat to escape and reduce the risk that the upper chamber becomes too hot. In cool sites, however, overly drafty construction can work against the roost by bleeding heat when bats need it retained.
Exterior color belongs in the same decision, not in the style conversation. Darker finishes absorb more heat. Lighter finishes reduce heat gain. Exterior color guidance reverses by exposure: a dark finish aids heat retention on a shaded cool-climate wall but pushes a full-sun southern installation past tolerable interior temperatures.
In hot southern exposures, light or reflective exterior finishes can reduce peak interior temperature by several degrees compared with dark finishes. That is enough to treat color as habitat engineering, not curb appeal.
Materials and Build Quality: What Survives More Than One Season
A bat house is outdoor habitat equipment. It is not a seasonal ornament.
Start with the shell. Look for exterior-grade wood or marine plywood at least 0.5 inch thick. Check seams. Tug gently at the roofline if you are inspecting a prebuilt model. Water entering the top seam can ruin a promising design long before bats have time to evaluate it.
Fasteners matter. Stainless or coated deck screws hold up better than staples for multi-season use. Tight seams, a roof detail that sheds water, and a sealed exterior give the structure a real service life. A well-built wooden bat house can last 10 to 15 years before major repair when sealed and re-coated periodically.
Keep finishes outside. Paints, stains, or sealants inside chambers can off-gas and deter roosting. The inner surfaces need grip, not a cosmetic coating.
Prebuilt, kit, or plan-built?
- Prebuilt houses save time, but inspect chamber spacing, grip texture, seams, and mounting hardware before buying.
- Kits let you inspect parts during assembly, which helps catch poor mesh, weak fasteners, or gaps before installation.
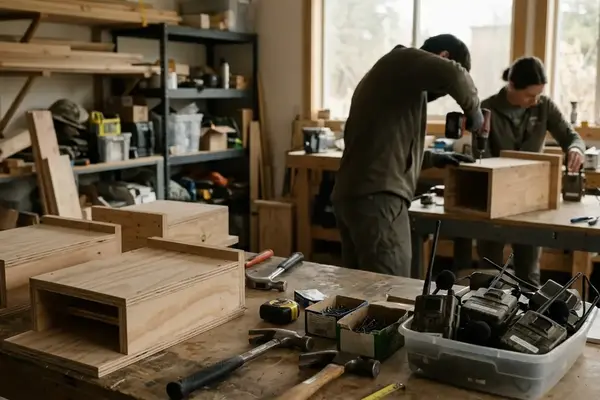
- Plan-built houses offer the most control if the builder follows habitat-focused specifications rather than decorative shortcuts.
I keep older public education work from the Organization for Bat Conservation (OBC) and the Cranbrook Institute of Science in mind here because it helped shift many community conversations away from cute boxes and toward functional roost details. That shift still matters at the shelf.
The Best Bat House Is Only as Good as Its Mounting Plan
Design and placement are inseparable. A well-designed house mounted poorly may remain unused, overheat, stay too cool, or become unsafe in wind.
Building-mounted houses can gain heat stability from the wall behind them. Pole-mounted houses can provide open flight access and better predator control if placed correctly. Tree mounting is usually less ideal because branches shade the roost, obstruct flight, and give predators easier approach routes.
Look for mounting compatibility before you fall in love with box size. A solid back panel, room for brackets or bolts, and a design that can sit level all matter. A fragile hanging loop should not serve as the primary support.
Maintain roughly 20 to 25 feet of clear flight space below and in front of the entrance, free of branches. After major storms, inspect from the ground. Seasonally, check for guano below the entry as a possible use sign, without disturbing the roost.
A larger box is the wrong choice if no location can hold it level and stable. Mounting capacity sets the ceiling on what to buy.
Best Design Features by Use Case
The right feature set changes with the person installing the house. I prefer to sort choices by use case because it exposes trade-offs that a generic checklist hides.
For backyard habitat
- Choose a durable multi-chamber house.
- Prioritize a rough landing pad and narrow internal crevices.
- Match exterior color to site exposure and local heat conditions.
- Use a roof detail that sheds water cleanly.
For vegetable gardens and pollinator gardens
- Mount the house away from busy paths, typically beyond 6 to 10 feet of regular foot movement.
- Keep flight space open rather than tucking the box into dense vegetation.
- Choose a design that does not require frequent handling once installed.
For schools, nature centers, and volunteer builds
- Use one repeatable plan so builders learn the same chamber spacing, landing pad, and roof details.
- For batch projects, standard 4-by-8-foot plywood sheets can reduce waste when the plan is designed around them.
- Separate demonstration boxes from active roosts so education does not turn into disturbance.
Renters and short-term stewards should be cautious. If multi-year mounting is uncertain, supporting an existing habitat project may help bats more than installing a box that must come down soon.
Red Flags: Features That Should Make You Pause
Run a disqualifying scan before price, paint, or packaging persuades you.
- Round birdhouse-style holes instead of a bottom crevice entry.
- Very shallow novelty boxes with little usable roosting depth.
- Slick plastic interiors or glossy painted inner surfaces.
- Loose interior mesh or plastic netting that can catch toes or wings.
- Weak stapled construction where screws should carry the load.
- Decorative-only designs with unclear chamber spacing.
- Mounting instructions that rely on a small loop or string.
Bottom crevice entry is required. Round side holes usually signal a birdhouse repurposed for sale, not a bat roost. Loose interior mesh and plastic netting have been phased out of habitat-focused guidance because entanglement risk is not an acceptable design trade-off.
A high price proves nothing on its own. An expensive decorative box can fail every functional test while a modest plan-built house passes.
What a Bat House Can and Cannot Do
A bat house can add potential roost habitat, support conservation education, and help a property owner make a more responsible habitat choice. It cannot guarantee occupancy. It cannot replace mature trees, wetlands, foraging habitat, or safe night skies. It also cannot serve as a shortcut around wildlife law.
Maternity season in many temperate regions runs roughly late spring through mid-to-late summer, when exclusions are widely restricted. Removing bats from a building requires local compliance and timing that avoids harm. Grounded or indoor bats should be reported to local wildlife authorities or a licensed rehabilitator rather than handled directly.
For broader context on how design and placement shape bat box use, the review of bat box design and use is worth reading with a practical eye. The recurring lesson matches what field installation teaches: details that seem minor to a buyer can decide whether the structure works as roost habitat.
Summary: Choose function first: thermal control, narrow crevices, rough grip surfaces, durable construction, and a mounting plan that gives bats open, stable access.
For this topic, the hard variable is bat choice under local conditions. A careful design gives them a better option. It does not make the decision for them.

Join the Conversation
No comments yet.
Join the Discussion